Over the course of the last couple of weeks, I've been working on a little project, and I thought I'd share..
The part I practiced on was a NAS fastener series 1141-1148, in grip lengths from 1/16 of an inch to 6 inches. I built it with the intention of being usable as a library part, not to be one hundred percent accurate.
Since the part is a screw, with the same shape used in several different sizes, I decided to make it as an
iPart.
The reason I created it was to refresh my memory when working with iParts, as well as exercise my knowledge of aircraft standards a bit. And it was good practice!
While I didn't learn (or relearn) anything particularly earth shattering, there are a couple of tips that I thought might be worth sharing.
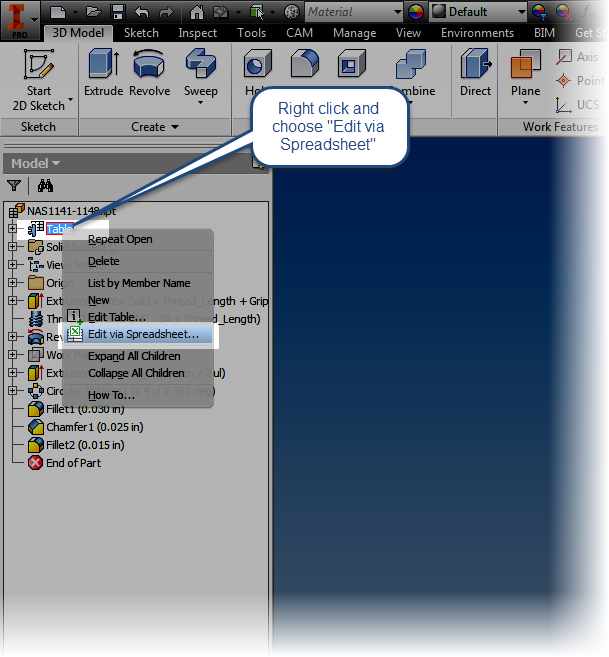
1) Don't forget that you can use Microsoft Excel to edit your part tables. Using Excel will allow you to using Excel to create equations, or just fill and copy series in the table.
 |
| Using Excel can make editing the table *much* easier! |
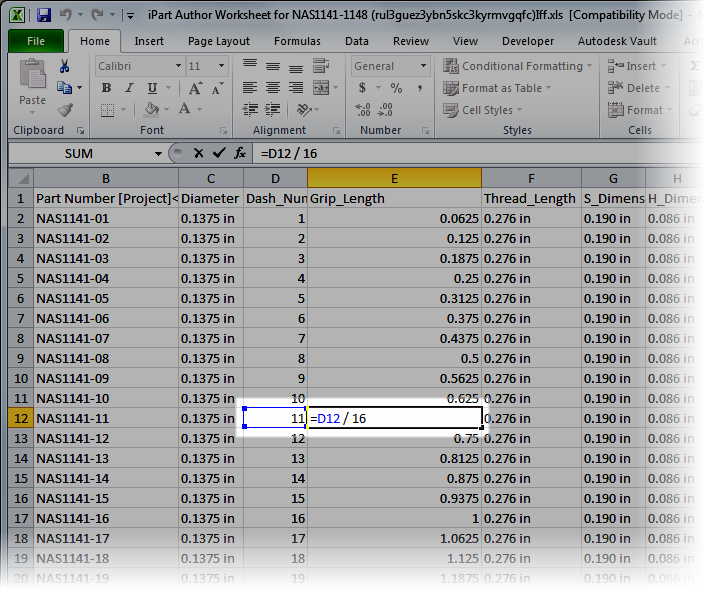
For example, looking at the sample part number 1145-
03, the 03 means something. It's the grip length of the screw in 16ths of an inch. so 03/16 = a grip length of 3/16.
Looking at that from Excel, you have a formula! Hello automating a repetitive task!
 |
| An example of an equation calculating a screw's grip length. |
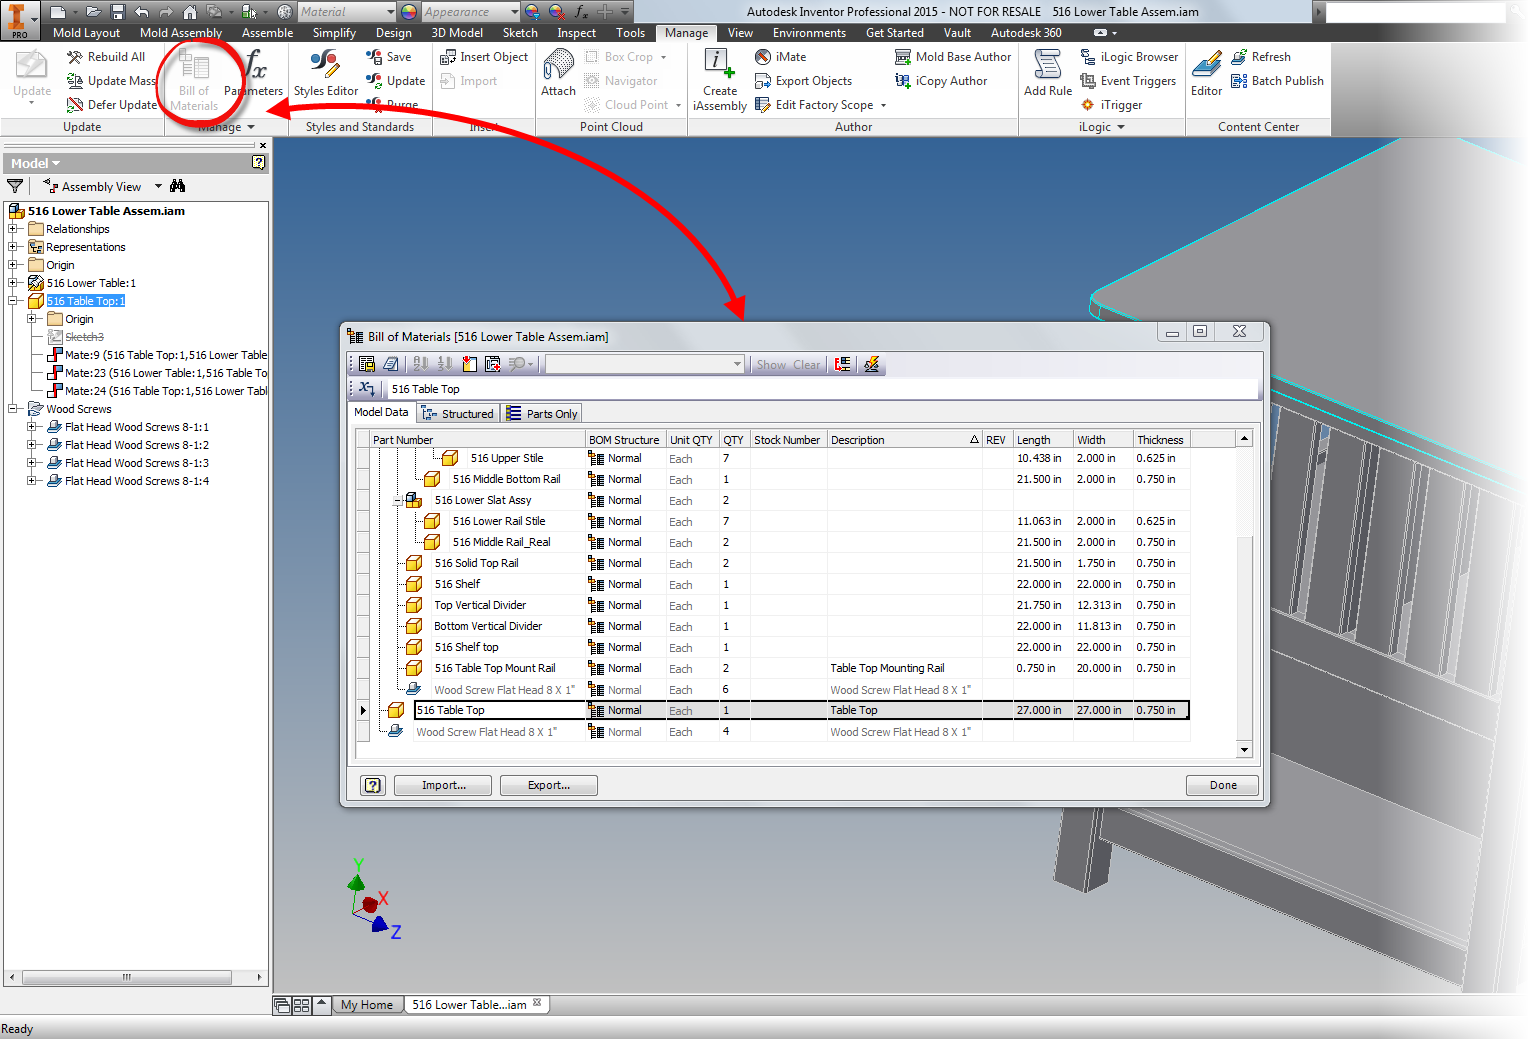
2) Don't forget that you can use Edit Member Scope and Edit Factory Scope to make adjusting iParts a little easier.
Edit Member Scope means any changes you make to the model only affect the active member.
Edit Factory Scope changed the entire factory, for example, when I need to add a fillet to the whole factory, I edited the factory scope. When I wanted to modify just the width of a torq head (the sort of Phillips head looking part) for a single variation, I edited the member scope.
 |
| The icon for editing member versus factory scope. |
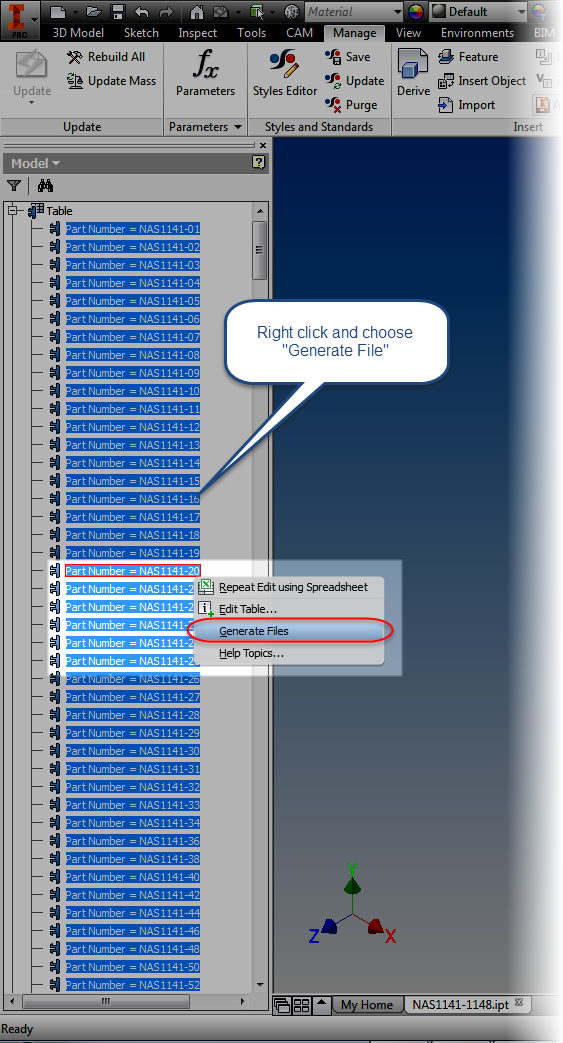
3) If you want to generate all the iPart members in a hurry, select them using Shift+Left Click. Once the parts are selected, right click and choose Generate Files.
The computer may chug a bit, but it will build all the members required for this part. Saving the trouble of doing it later.
 |
| Selecting all all the members and generating all the files to generate all the files. |
But after I was done working on this project, I decided that I would go head and share more than a few tips for this part, I'm just going to go ahead and share the iPart.
Of course I do have to offer up a few disclaimers, or at least advisories.
1) I've done my best to make sure that the values are correct. But there is always the possibility that I suffered a case of fat fingers. It never hurts to verify if you're going to use it for real!
2) This screw actually uses UNJF threads, not UNF like I've used in the iPart. However, I designed this with the intention to be placed in assemblies, not to be accurate to the manufacturing level. Since the default Inventor Thread table doesn't contain UNJF threads by default.
I do have a modified Thread.xls file with UNJ threads in it, but rather than talk people through modifying their Design Data folders, I decided to keep the part as universal as possible, since ultimately the part is only intended to be placed in an assembly.
But with all that said, take the part, use it, and enjoy it by downloading it from my
GrabCAD account here!
If you don't have a GrabCAD account, you can
download it from this link!
One final note, I found the technical information for the screw at the
Coast Fabrication website. It's got a wealth of information!


