Alan Dundes
There are times when a component is placed in Autodesk Inventor, it doesn't take the orientation I want it to. It lays on it's side, back, etc. Every way but the way I want it.
Inventor can work with this just fine, but ultimately, I like my components sitting in a "natural" state.
Usually, I'll just unground the component, and assembly it to origin planes. It took little time, and got what I wanted.
But now, 2014 has added a new option, the ability to reorient a component during placement.
- Let's start with an assembly, where I'm placing a metal container with the Place Component command. Notice that the container is laying on it's back. I want it placed on it's bottom, like it would be hanging on a wall.
- It's important to note in the image below, that I'm still looking at the preview. I haven't placed the component by left clicking yet.
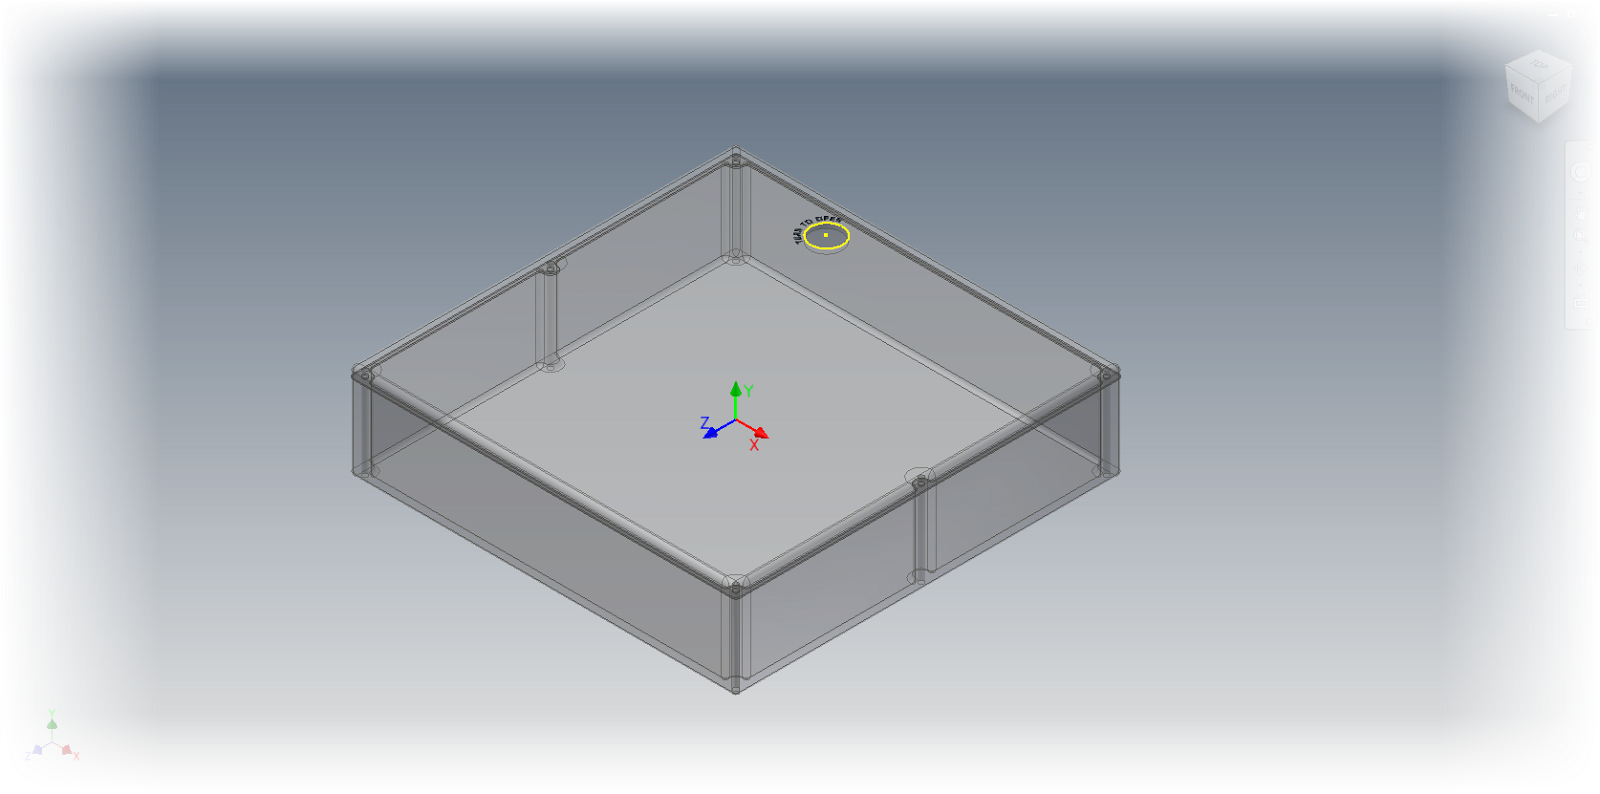 |
| The initial preview of the component placement. |
- Now, with the preview on screen, I right click to see the rotation options. There are options to rotate around the X, Y, and Z axis in 90 degree increments.
 |
| Right clicking to see the rotation options. |
- In this example, I've rotated round the X-Axis once, and Y-Axis three times. (It's a little like a combo on a game console!)
 | |
| The corrected orientation |
- Finally, the component can be placed by left clicking or by right clicking and choosing Place Grounded at Origin
 |
| Placing at Origin |
- And that's all there is to it! The component is placed and ground, all in the orientation I want!
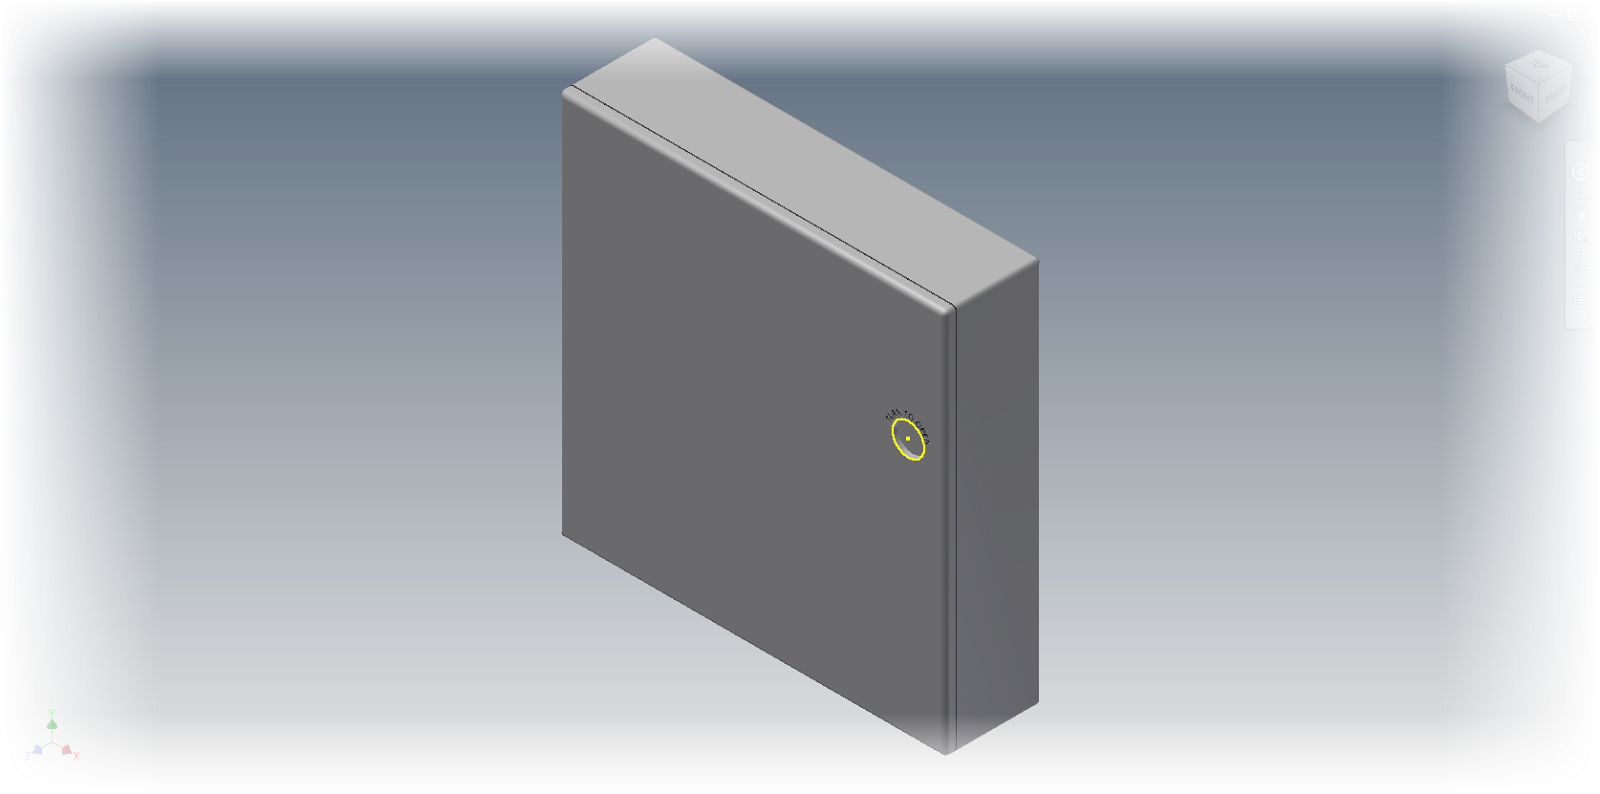 |
| The component placed! |
And below, here's the video portion of the post! I hope you find it helpful!


