Tony the "Phantom Phixer" and one of my valued mentors
I just completed another 4 week stretch taking Aircraft Maintenance at Mount San Antonio College, and find myself reflecting on what I've learned. What an experience! The engineer in me enjoys getting my hands dirty again, and this time it meant driving rivets and bending a little metal (not always on purpose)
One project in my class involved creating a sample of an aircraft former. A curved piece of structure that forms the framework of an aircraft.
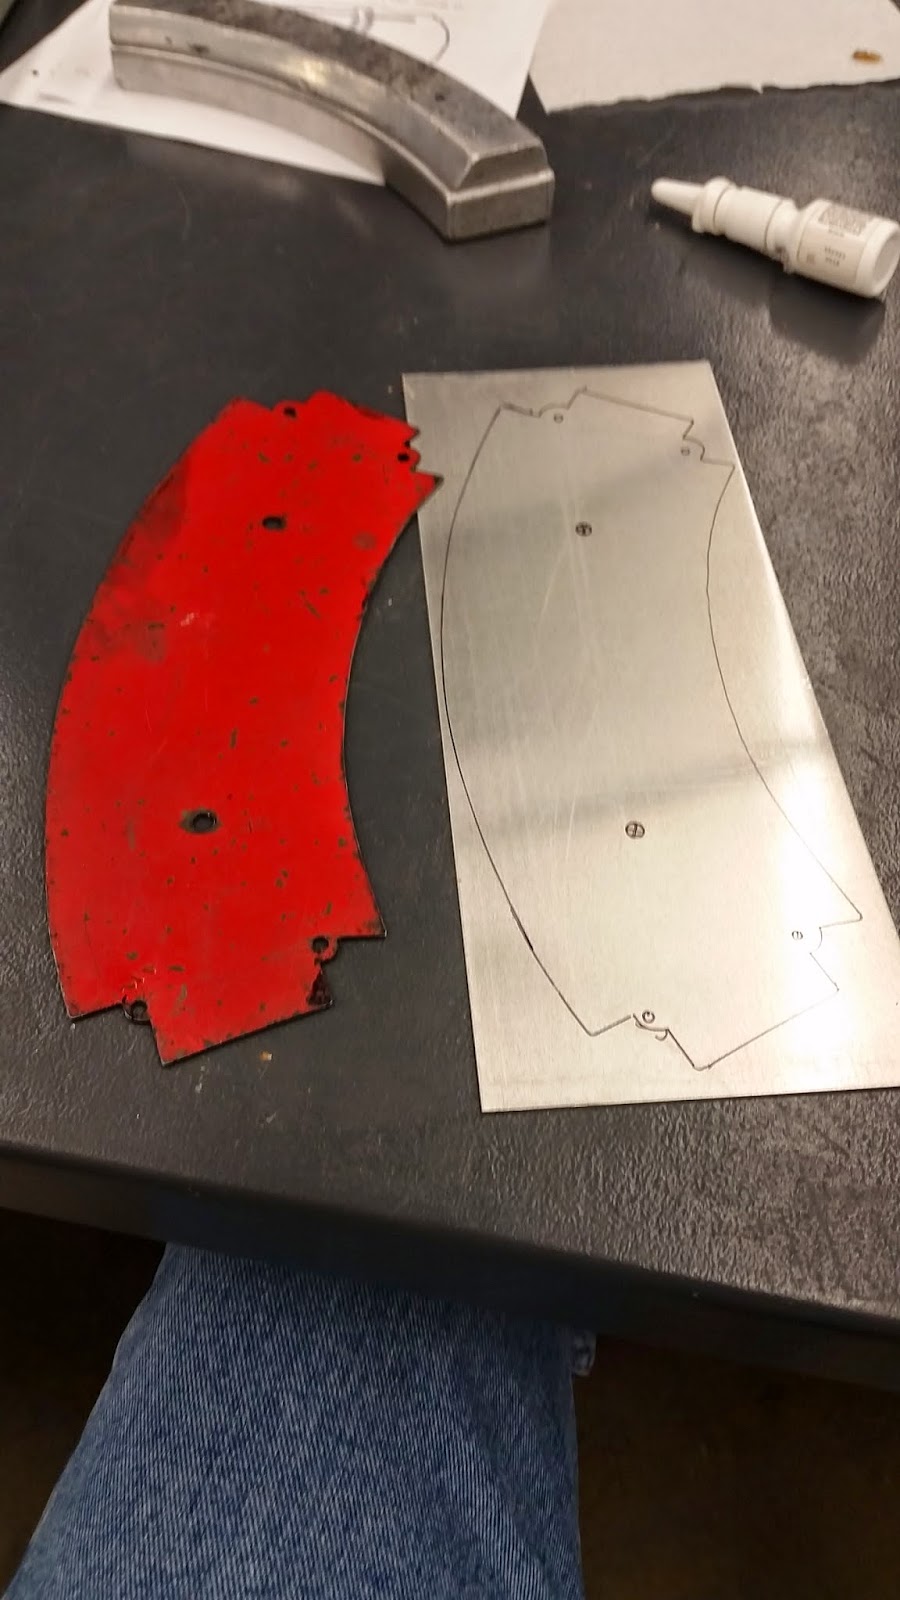
It meant going through the process of tracing a template
 |
| Template and blank. Note the aluminum form block in the background |
I wasn't able to embed any of the videos. So click here to follow a link!
After that I cut the template using Tin Snips out of 2024-0 aluminum. 2024-0 is soft, and very easy to form, but not very strong.
 |
| Tin snips. Yep, they're big scissors for metal. |
To see the video click here.
I cut the part a little oversize. Then I formed the blank over an aluminum form block using a shaped block of wood and a soft hammer.
 |
| The partially formed block of metal |
 |
| Same part, different angle. |
To see the video, click here.
Granted, the edges weren't perfect. But it was my first time, and I definitely learned what to do better the next time!
 |
| The part finished and trimmed. Notice the soft hammer in the background, along with the book o' standards AC43.13 |
Ultimately, the part would be heat treated to a T-3 temper, ensuring that it would take the loads that it it would see in a real aviation application. Since I was just a simple student, we didn't go through this step.
The lessons I learned doing this were immensely valuable. I just can't dismiss them.
The first thing I did was contrast it with my 3D CAD experience. I have tools at my disposal that could have designed the part in 3D, and created the documentation, and so on.
So why in the name of the "Wide Wide World of Sports" would I not use them?
Why use snips, a form block, hammer, and a bucket full of patience to build the part?
The answer, in the end, was affirming, at least to me.
The right tool for the right job. Just because you can use a power sander, that doesn't mean that you'll never hand sand again. Sometimes there is such a thing as "too much power".
Granted, my part was just a sample, a training session doing something that represents a typical process. But I've seen the "real mechanics" creating parts to repair a 60 year old airplane.
In those days, there was no "Computer Aided Design" software. A "cad" was a rather improper or rude man. The mechanics are matching reality without the benefit of a virtual world
But it would still take time to generate the part, ensure my unfolding rules are accurate, and then go about making the part.
And that would still leave me with having to make a form block, and form the part.
Right tool. Right job. And don't forget, right process.
It's just as, if not more, effective to make a form block that fits where the finished part is going to live. Then form it, trim it, and heat treat it when all is done.
Thought provoking, isn't it?
What's the moral of the story? Maybe there isn't one. Maybe I'm just rambling.
But what I learned is that no matter what I'm doing, it pays to know all the tools and process I have at my disposal, and find the best tool for the job.
Sometimes, that means dispensing with fancy technology, reaching back in time, and going back to the old ways.


This process seems so tedious! I never realized that it was so difficult to bend sheet metal. We have a machine in our shop these days that can do that job in about 1/10th of the time. It's amazing how far things have come! Thanks for sharing these tips with us. http://www.bronson.com.au
ReplyDeleteI'm surprised that it's still done as often as it is. But only for one or two parts of course. The last time I saw it was for the intercostal on a Douglass C-47.
DeleteI'm glad we have new tech to help us, but I'm just as grateful I took a class that taught me to appreciate those who did it the hard way!
What is the Job outlook of an Aviation Maintenance Technician?
ReplyDeletematerial handling equipment
From what I've seen, it's not bad. I know that it can sometimes be a little tough to break in, because companies want experience (like so many industries). But once in, it can be pretty good. I've heard the airlines are looking for people all the time.
DeleteLovely post
ReplyDelete