Progress lies not in enhancing what is, but in advancing toward what will be.
Khalil Gibran
Late last week I decided it was time. I upgraded my
Autodesk Vault server from 2012, to 2013.
The process went through pretty darned smoothly. I was able to get my Vault up and running no time, maybe an hour, give or take. But I thought I share my steps and experiences. So those of us who might be getting ready to take the same leap soon.
First a few explanations of what I was upgrading:
- Updating Autodesk Vault 2012 Basic to Autodesk Vault 2013 Basic
- I was upgrading my laptop, which is a server for only one user, myself
Of course your configuration may vary. You might be running a configuration like mine, just one guy accessing a Vault for managing his own set of projects. Or you could be managing dozens of users who are running a large Vault installation replicating across several sites.
So these steps represent my upgrade process. I can't cover every contingency here. So if you have any doubts, do a little extra research. If you REALLY have doubts, call your friendly neighborhood Autodesk Reseller. They can help make sure your transition is as smooth as possible.
Next, here are some things I had ready, or planned for.
Have a backup!
I can't stress this enough. Even though I have never once lost a database or filestore during migration, you don't want to make any assumptions. Should the worst happen, have a backup plan that includes having a backup to restore, instead of slipping out the back door before anyone notices!
Be prepared for some downtime!
If the server is upgrading, files in Vault won't be accessible. Make sure you have time set aside when everybody can be ready to be out of Vault for a few hours. Don't upgrade when you have a massive project due in fifteen minutes. It's not a pretty sight when the engineering department shows up outside your office with torches and pitchforks.
Be prepared for a reboot!
This ties into the previous bullet. The server may have to be rebooted, so be prepared for that too. This is especially true if you have a server that's running processes other than just Vault. Knocking payroll offline on payday can have unintended consequences (see torches and pitchforks above).
In short, a little caution goes a long way.
Now that that's said. I have my backup safely tucked away. My install is ready to go. All I have to do is start pressing the buttons.
So what were my steps?
The first is easy. I uninstall Autodesk Vault 2012 via Add/Remove in the Windows Control Panel.
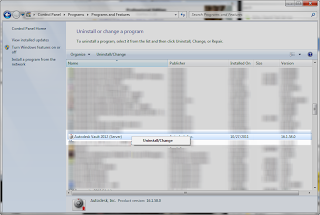 |
| Farewell, Vault 2012. |
This will fire up the Autodesk Uninstall screen, where you can remove the Autodesk Data Management Server Console from your machine.
Vault will ask you if you have a backup. And if you haven't. Make one! Seriously!
Now you get to confirm you're going to uninstall!
Progress bars will do their "progressy" thing, and the Vault Server will be removed from the machine. It's important to note that the filestore and database (which contain your valuable design data) are still on the machine.
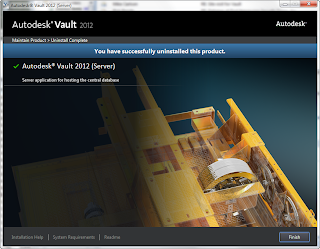 |
| And Vault 2012 is off the machine! |
Installing Vault 2013
Now we fire up the setup for Autodesk Vault Server 2013. The setup starts up, and we see our first screen.
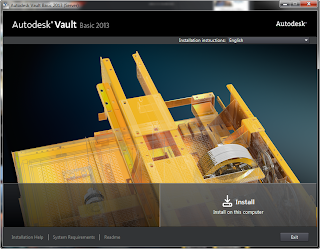 |
| Here we go! Vault 2013 going hot! |
First you'll see the End User License Agreement (EULA). I know that each one of you reads this diligently and takes notes before agreeing and hitting next. :-)
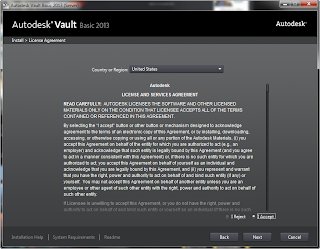 |
| I agree to some legal things, and ZZZZZZZ... Oh! A "Next" button! |
Next the install options appear. The options may vary based on your installation (SQL Server settings, new install or upgrade, etc). Notice in my case, the installation sees that the instance "AUTODESKVAULT" already exists. This is my old 2012 database and filestore.
You know, the one that holds that critical engineering data?
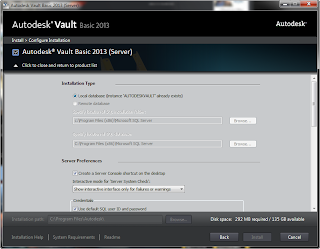 |
| Look! A the instance is waiting to meet us! |
The next option is what to install. In my case, I'm not installing the ADMS Content Center. I run my content off of the Desktop Content because I'm always testing different Vaults on my machine. It's easier for me to maintain my content separately for these reasons.
Clicking install starts process. The first thing the install notes was that their is already an existing database. The installation advises me that it may need to be migrated when it's done.
This is expected in this configuration, and I go ahead and continue.
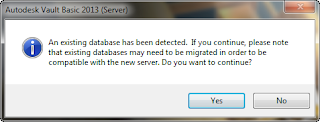 |
| Yes! We must forge ahead! |
Now the ADMS check starts. Like a preflight check in an aircraft, this makes sure we're ready to go.
In my case, two warnings were noted. One was that a reboot was required. The other was that a there was a failure in the ASP status. One nice thing about this check is that if you click on the warning, it will take you to link of solutions for that error.
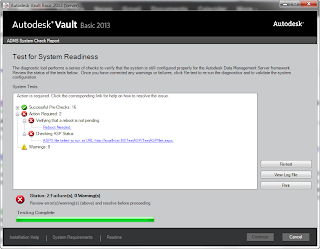 |
| Stuff needs to be tweaked! |
In the case of my ASP error, I had to change the .Net setting in my DefaultAppPool from v2.0.50727 to 4.0.30319. The instructions in the link showed me the steps I needed.
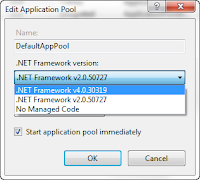 |
| Switching the pool |
After a reboot, and repeating the steps above, I was able to run the install. Now it was just a matter of waiting for more progress bars.
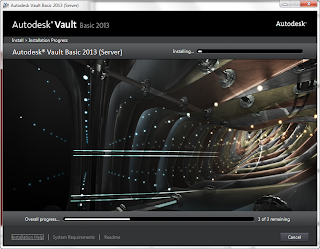 |
| I hear gameshow music. |
After a few minutes, the install completed.
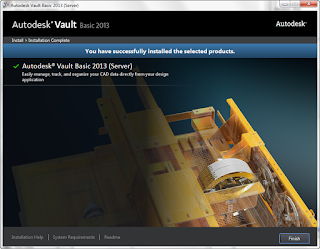 |
| Yay! |
But we're not quite done yet. Remember that warning about having to migrate databases? If you don't, you'll remember it now! Why? Because Vault will remind you!
In my case, I wanted to get things rolling right away, so I started the server console.
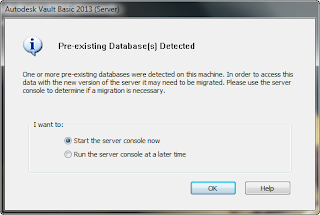 |
| We're not just flying South for the winter. |
The installation wants to know if what we want to migrate. I chose to migrate everything, vaults, and libraries.
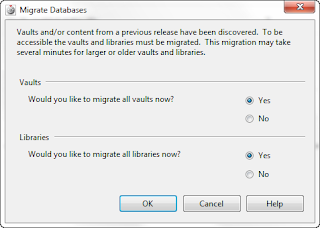 |
| We're taking the whole shooting match! |
Now the migration begins. It takes a little bit of time to migrate everything, especially if you have a lot of content center libraries. In my case, I don't (remember I'm running Desktop Content?).
More progress bars appear as the migration takes place.
One more completion message, and the migration is truly done. The Vault server is upgraded, and I'm ready to start using my new, migrated databases and filestores.
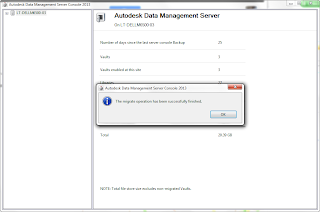 |
| All done |
So those are the steps for my Vault upgrade. I wasn't expecting a reboot (although in retrospect I should have). Fortunately, I knew I
could reboot if needed. It just meant I had to stay at the office a little longer to reboot my machine.
I hope you find the steps I used helpful as you plan your own Vault installations and upgrades.
For more resources, check out the following:
Autodesk Vault Knowledge Base
Under the Hood (Data Management/PLM blog)
Cracking the Vault (Data Management/PLM blog)
Have your own thoughts or suggestions from your own upgrades? Throw out a comment below!
