Using Design Views can be a great way to make switching between different views in your assembly.
A Design View remembers three things about your assembly.
1) The camera angle
2) The color scheme
3) Part visibility
The advantage is, it remembers them, so you don't have to!
For the first step, I'm showing an assembly in the same way we'd always look at it.
Notice where I've indicated the design views (these are the defaults in any file).

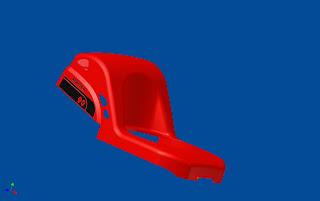
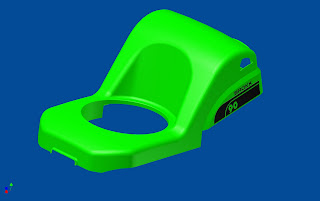
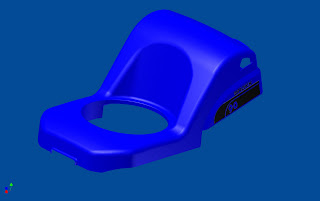
However, we're going to create a couple of other things we're going to turn off the black tabs hanging off the part, change the color of the yellow part to red, and look at it from a different angle.
For our first step, we 'pose the assembly'. In other words, create your desired result, just like you would normally would in any Inventor Assembly

Now the tabs are gone, and the colors been changed. We've also rotated the part.
But how to we get Inventor to 'memorize the view'?
1) Right click on the 'View' in the browser, as shown below, to create a new design view.

2) Once you do this, a view with a default name will appear. You can double click on the name in the browser, and rename it to something that makes more sense than 'View1'.

3) Believe it or not, the view's just been created! There is one more step to make sure that your view is ready to go. Right click on the name one more time, and lock the view. This will make sure that any parts that are added to the assembly don't appear in your design view when you don't want them to!
 4) Once this is done, you can create other views by repeating the steps.


Happy Inventing!

No comments:
Post a Comment